What Can Your Security System Do?
Back in the old days a typical security system would provide the basics of what you could expect from a burglary system. You’re basically arming the system when you leave to safeguard your home and when you return home it only requires that you insert your code and ‘voila’ it would disarm the system.
So much has evolved in the security industry over the last 20 years, but more so in the last 5 years. The introduction of smart home security has taken the world by storm and the inclusion of home automation has taken home security to the next level.
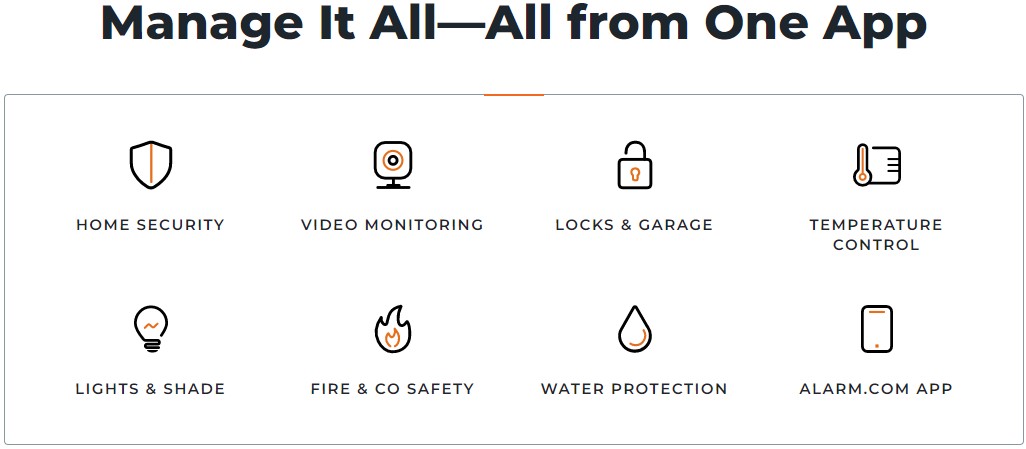
With the ability to access or control just about any device imaginable in your home, families are now looking at home security systems as a necessity or ability to truly monitor your home when you are there or not. Scenes have become one of the most popular functions a keypad or smart home application can do to help families create a schedule or control your security and home with ease.
Creating scenes is very popular as it gives you the functionality to control and change multiple functions with the simple push of a button once. Why would anyone want to create a scene ? Great question, how about coming home from work and due to traffic you will be arriving home in the dark. Wouldn’t it be nice to arrive in comfort as the thermostat can be adjusted, lights turned on alerting intruders someone may be home, as well as many other important features that could be used in a typical scene.
We have only touched the tip of the iceberg of functions that our smart home security systems can do that are professionally installed by Alarm Guard Security.
Here are two of my favorite functions that come included with our smart home security keypad that seem to be overlooked and under utilized. I have listed them as follows including how to enable and use those functions to your advantage.
They may not be considered intrusion protection features but they can really help with the day to day operations of your home on many levels.
Here are my Top 2 Features:
HOW TO USE THE IQ PANEL 2 WITH WIFI ACCESS POINT MODE?
The IQ panel 2 has a built-in router to extend and enhance your Wi-Fi network connection.
To enable this feature, first go to the panel’s Advanced Settings menu and type in your 4-digit master code. In the Advanced Settings menu, you should see the Access Point Settings icon:
- Once inside the menu, press Wi-Fi Access Point to enable. A message will
appear: The panel must be connected to a Wi-Fi network with 2.4 GHz
compatibility before activating the Wi-Fi Access Point. - Press OK to confirm.
- SSID: Change your panel network name.
- DHCP IP Range: Default is 50.
- Change Password:
- Password should be a minimum of 8 characters.
- Accepts only printable characters and should not contain space at the beginning.
- Should contain at least one alphabet and one numeric character.
- Activate WPS: Connect devices to the Panel’s access point using WPS button.
- Access Point Password: Show current Panel’s access point password.
To see all the devices connected to the Panel’s Wi-Fi Access Point, go to the panel’s Advanced Settings menu and type in 1111, which is the Installer access code. You cannot access the Wi-Fi Devices settings using your master code.
In the Advanced Settings menu:
- Select Installation
- Select Devices
- Select Wi-Fi Devices
- Select Access Point Connected
- The list will show every device that is currently connected, including their MAC and IP Address, Connected Time and Actions.
Another great feature that seems to be overlooked is the photo frames on the keypad.
The ability to load your own family photos or wallpaper can definitely give that zen to
any home. 🙂
HOW TO EDIT PHOTO FRAMES ON IQ PANEL 2 ?
When the IQ Panel 2 is not in use or has not been touched for a set period of time, it will go into screensaver mode and display photos. The Photo Frame Settings is accessible in the Drop-down menu, tap the time on top on your home screen or swipe down from the top of the screen, a grey menu should drop down:
- Select Photo Frame
- Press on individual photos to preview, swipe left to go to the next photo.
- Press Play to start the photo slideshow.
- To To Add Photo
- Press Add
- Insert the SD card with the desired photos into the slot on the right of the panel
- All photos on the SD should pop-up, select the desired ones or press “Select All”
- Press Add New Photos to add to the existing album.
- Or press Replace All to replace all the default photos on the panel.
- To adjust Photo Frame Settings, press Settings
- Duration: of each photo being displayed.
- Effect: Dissolve/Fade to Black.
- Shuffle
- Display Type: Off/Photo Frame/Weather Clock.
- Photo Frame Start Time: 1-30 minutes after last touch.
- Nighttime Mode Start/End Time
- Nighttime Mode Settings: Display/Voices/Chimes
- To Delete photo(s)
- Press Delete.
- Select the photos or “Select All”.
- Press Delete again to confirm.
- Press Cancel to dismiss.
Thanks for reading our blog section, if you would like to see an article on any specific section relating to our security services, please do not hesitate to contact us so we can get started on it right away. We love to write about what we do !!
Alarm Guard Security Protects Families Across Canada !!


